
Dental Fillings

A dental filling is used to restore a tooth that has been damaged by decay, cavities, or trauma. The process of getting a filling involves several steps, and the procedure can vary slightly depending on the type of filling material used (e.g., silver amalgam, composite resin, porcelain). Here’s a general outline of the process:
1. Initial Evaluation and Anesthesia
- Examination: The dentist will first examine the tooth to assess the extent of the damage, often using X-rays to see how deep the cavity goes.
- Anesthesia: Local anesthesia (numbing the area) is usually administered to ensure you don’t feel pain during the procedure. The numbing injection might cause a slight pinch or sting, but it should take effect quickly and make the area around the tooth numb.
2. Removing Decayed Tissue
- Drilling: Once the area is numb, the dentist will use a dental drill to remove the decayed or damaged portion of the tooth. The dentist may also use a laser or an air abrasion tool, depending on the practice and the location of the cavity. The goal is to clean out all of the decay so that the filling material will bond properly.
- Cleaning: After the decay is removed, the dentist will thoroughly clean the cavity to eliminate any remaining bacteria or debris.
3. Shaping the Cavity
- Once the cavity is cleaned, the dentist will shape it to prepare for the filling. The shape and depth of the cavity are important to ensure the filling fits properly and stays in place.
4. Placing the Filling
Depending on the type of filling material being used, the process will differ slightly:
Composite Resin Fillings (Tooth-Colored)
- Layering: The dentist will place the composite resin (a tooth-colored material) in layers, curing or hardening each layer with a special light before adding the next layer. This allows for precise shaping and bonding to the tooth.
- Shaping and Polishing: Once all layers are applied, the dentist will shape the filling to match the natural contours of your tooth. They will then polish it to a smooth finish, making sure the filling is comfortable and blends well with the rest of the tooth.
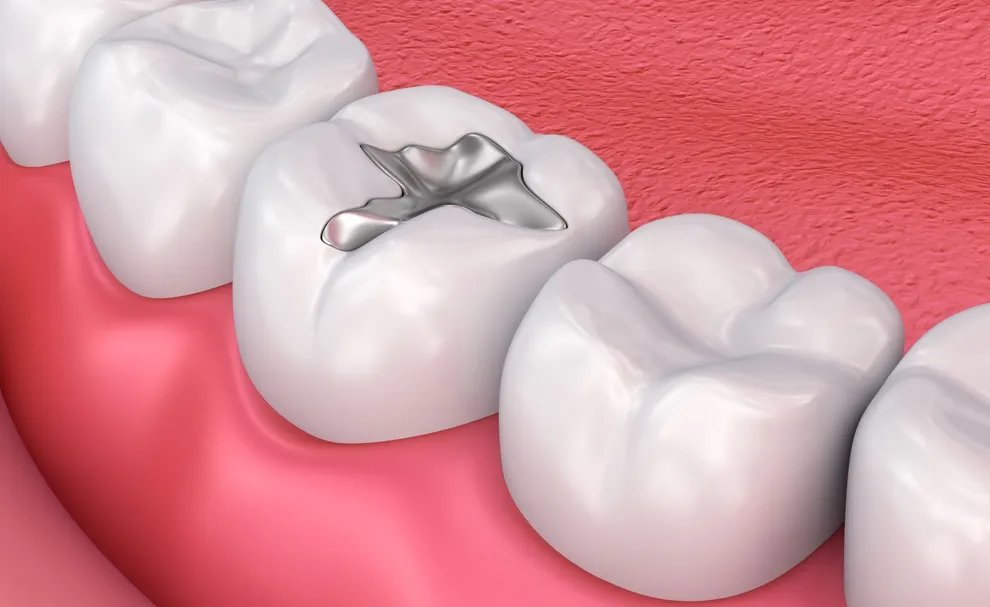
Amalgam Fillings (Silver Fillings)
- Packing the Cavity: Amalgam is a durable, silver-colored material made from a mixture of metals, such as silver, mercury, tin, and copper. The dentist will mix the material and pack it into the cavity while it’s still soft, ensuring it fills the entire cavity.
- Shaping and Hardening: After the filling is in place, the dentist will shape it to match the contours of the tooth and allow it to harden. Since amalgam hardens quickly, the process doesn’t require additional curing.
Porcelain Fillings (Inlays/Onlays)
- Custom-Made Filling: Porcelain fillings are usually made in a dental laboratory after your initial appointment. During the first visit, the dentist will remove the decay and take an impression of your tooth, which is then sent to the lab.
- Temporary Filling: A temporary filling is placed while the custom porcelain filling is being made.
- Second Visit: Once the porcelain filling is ready, the dentist will remove the temporary filling and place the new one. They will bond the porcelain filling into place, ensuring it fits snugly and comfortably.
Gold Fillings
- Custom-Made: Gold fillings are also made in a lab. Similar to porcelain fillings, the dentist will take an impression of the tooth after cleaning out the decay.
- Temporary Filling: A temporary filling is used while the gold filling is created.
- Second Visit: When the gold filling is ready, it’s cemented into the cavity, and the dentist will adjust it to ensure proper fit and bite alignment.
5. Adjusting the Bite
- After the filling is in place, the dentist will ask you to bite down to check for any discomfort or misalignment. If the filling feels uneven or causes you to bite incorrectly, the dentist will adjust it by shaping the filling further.
- This step ensures that your bite feels natural and that the filling doesn’t interfere with your ability to chew properly.
6. Finishing Touches
- The dentist will give the filling a final polish, making sure it’s smooth and comfortable. They will also ensure that it looks natural and blends in with your other teeth.
- If you’re getting a composite filling, the dentist might also use a light to harden the material completely, ensuring it bonds securely to the tooth.
7. Post-Procedure Care
- Once the procedure is complete, the dentist will give you instructions for aftercare. Generally, the area will remain numb for a few hours, so it’s a good idea to avoid eating or drinking until the anesthesia wears off.
- Sensitivity: You might experience some tooth sensitivity for a few days after the filling, especially if the cavity was deep. This is normal and should subside over time.
- Oral Hygiene: Continue brushing and flossing as usual, but be gentle around the treated area until it feels completely comfortable.
8. Follow-Up
- You typically won’t need a follow-up visit unless you have concerns or experience prolonged discomfort after the filling. It’s always a good idea to attend your regular checkups, where the dentist will monitor the filling and ensure that it remains intact and functional.
Why Fillings are Important:
- Restoration of Tooth Function: Fillings restore the tooth’s strength, preventing further damage and helping you maintain proper chewing function.
- Prevention of Infection: A filling seals the cavity and prevents bacteria from entering the tooth and causing further decay or infection.
- Aesthetic and Comfort: Tooth-colored fillings provide a natural look, blending seamlessly with your other teeth, while materials like gold and amalgam are more durable for back teeth.